07 March, 2010
26 February, 2007
Hush yer mouth: BBQ Beef Brisket

 Okay I really got started early last week when my neighbor gave me a frozen piece of brisket to smoke (don't ask me how I got it lit). The beef thawed in the fridge for a few days and I put a rub on it Saturday. Here's the rub mix (adapted from The Virtual Bullet)
 The meat we had was the flat cut of the brisket that had been well trimmed. If feel up to it just get a whole brisket and trim it yourself, leave about 1/8 to 1/4 inch of fat on it. I rubbed it in a large ziploc bag and left it overnight.
Brisket is a funny smoke, but man is it good. You don't need a smoker to do this recipe, just about any charcoal grill with a hood will do. Take a look at the Slow Pork Taco Recipe, for details on smoking in a kettle grill.


Hot smoked beef brisket for Oscar night. But wait there's more.
Cheers.

02 June, 2006
Backlogged Blog
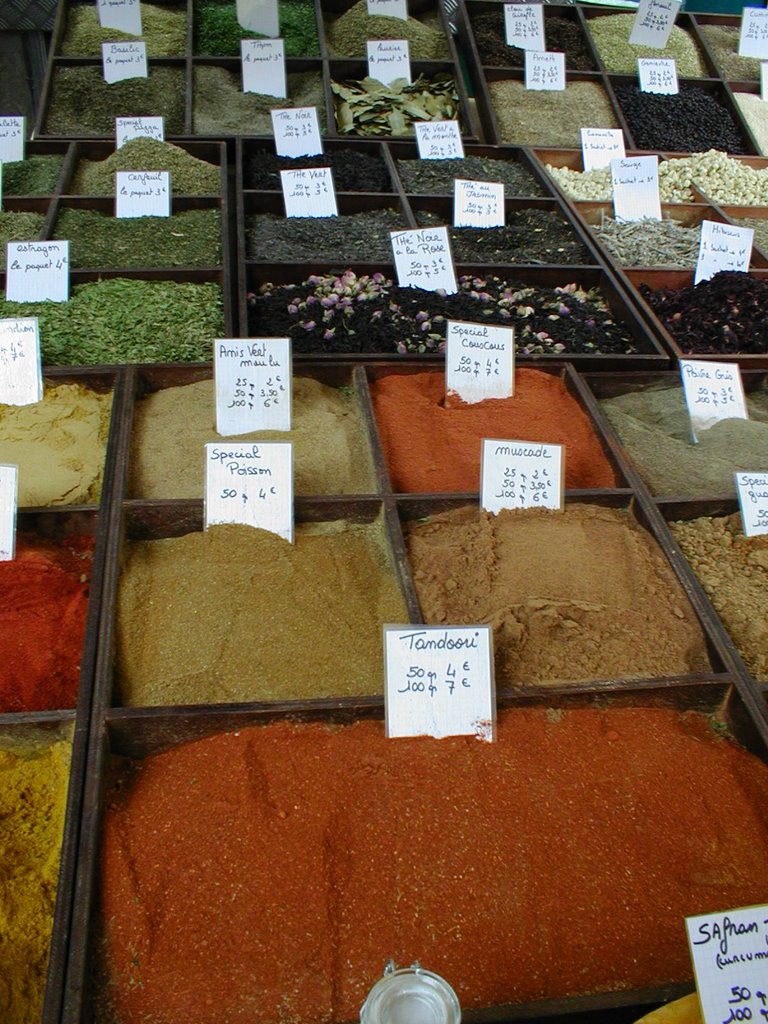 (S in Provence, a year ago)
This blogging business is hard to keep up with. But the life of the sausage goes on. In the intervening months since the last update we have had our ups and we have had our downs; but mainly we have been having sausage. We vinted the vin d’orange and I am getting ready to start the third batch of bacon.
At the end of March, high off the success of the corned beef, I wanted to do a pastrami. What could be better than corned beef, but a corned beef that is smoked? Hello pastrami.

The process was the same as for the corned beef: Dry rub with salts and spices, cure for five days, then cook. The Charcuterie recipe called for smoking to 150F and finishing it to fork tender by boiling. Again as with the corned beef, I really only wanted to go to 160F and I didn’t want to boil it after smoking. The Virtual Bullet website had a pastrami recipe for smoking to 160f, so why not combine the recipes? It worked last time.

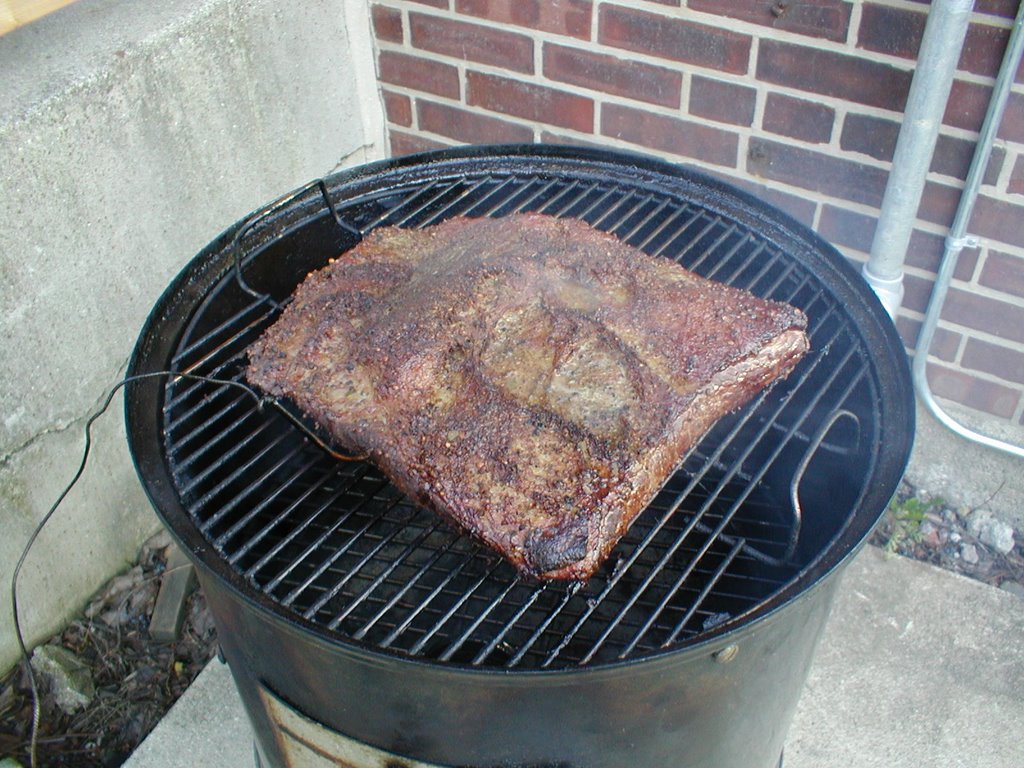
Well it didn’t work, exactly. It got a good smoke, pulled it off at 160F, It looked good, but too salty. And a little chewy. Don’t worry, it got ate, Ruben’s too, but it wasn’t magical like the corned beef. If I were to do it again, I think I would soak it before smoking (to balance the salt) and I would try a finish temp of 175F(give a little more time for fat to render but not dried out). “If” being the operative word here, because smoking it did not do much for me. There were so many subtle favors in the corned beef and they all got lost in the smoke.


Maybe I should follow a recipe straight. Early April and time to try bratwurst again. This time with veal and added fat back.
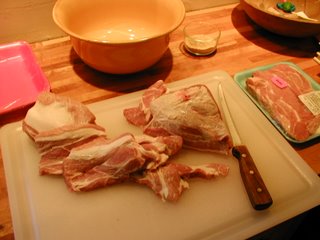
The last couple of times I had made sausage I felt the flavor was good but the texture (mouth feel, for you epicurious types) was not quite right. It seemed a little dry and the added fat should bring a little creaminess to the texture. I didn’t take pictures of the fat back but it was more like fat scraps. Isn’t there some saying about watching sausage being made? Maybe you should go browse the Nordstrom’s website.
Anyway the fat scraps did not fix the mouth feel conundrum, more fine tuning to come.
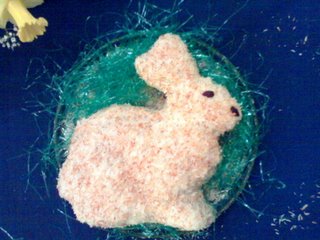
Easter in Columbus, it is nice to have spring sprung, unlike the cold morose in Chicago.
No pictures of the Easter Brunch bacon, but here’s the bunny cake S made. Carrot cake of course. The bacon (second batch) was better that the first, it cooks up nicer and tastes better than any store bought (and only $1.29 a pound). I cured one part of it with maple syrup (sweet), and another part with garlic and picking spices (savory). The sweet turned out great, the savory we can skip next time(see pastrami problems).

Here’s a picture of some fresh pork shoulder. In late April, I made Italian sausage with it. I like to rinse the meat before cubing. But I forgot something. Pat it dry. It made a real mess during the stuffing and the texture was bad (the fat problem from above also contributed). Plus smoke and spices adhere (I don’t mean stick, but penetrate) better to dry meat. I don’t remember where I read that, but just do it, pat it dry.
At this point I am ready for a happy sausage story. Here are my good friends from Williamsburg with their first batch of garlic sausage.
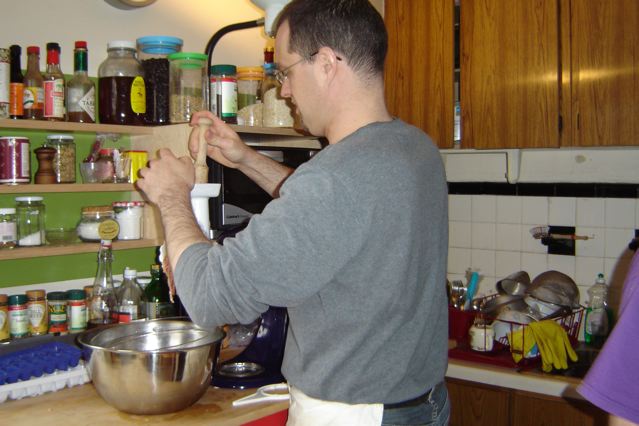
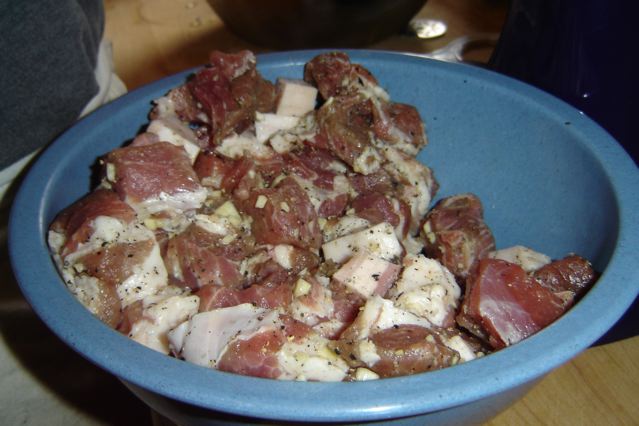
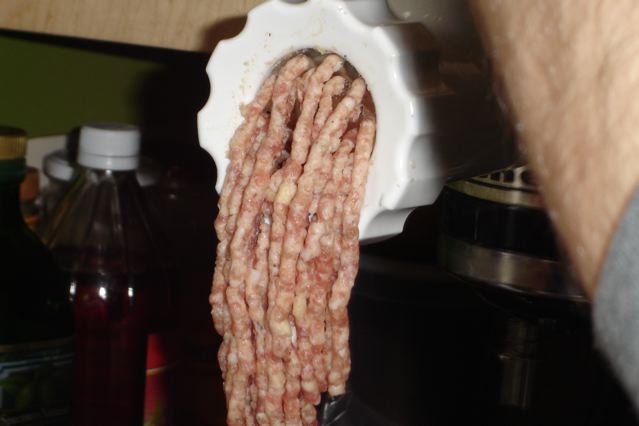


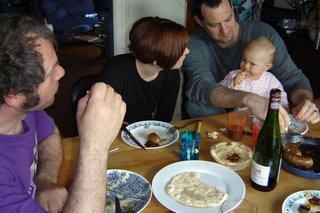
Ah, country living in the heart of the city.
Back home here in the Southland, the South side of Chicago, you know it’s now hip to be from the South side? Working class, gritty and all that, especially since the Pale Hose became the world champs…someday my kids will mockingly say to strangers “Yeah, I grew up on the Southside,” and those strangers, provincial Midwesterners that they will be (Or an immigrant Northsider, as I once was), will shudder in fear, and then a cool breeze of goose pimples will calm the shudder, followed by tiny tingles on the back the neck as they contemplate the coolness of being in the middle of the scrap. No really it’s just the suburbs, just South.
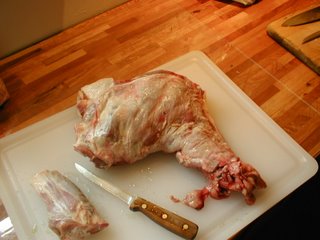
Anyway, earlier in May, I picked up a lamb shoulder for an attempt at Merguez (recipe from Charcuterie). According to the recipe, it is a spicy sausage of North African roots. I love kabobs, so I figured what could be better than a lamb and vegetables stuffed into a sausage. Lamb shoulder, roasted red peppers , garlic, oregano, paprika and fat. Oh yeah, the fat. After some ruminating and some reading I bought some pork jowl.
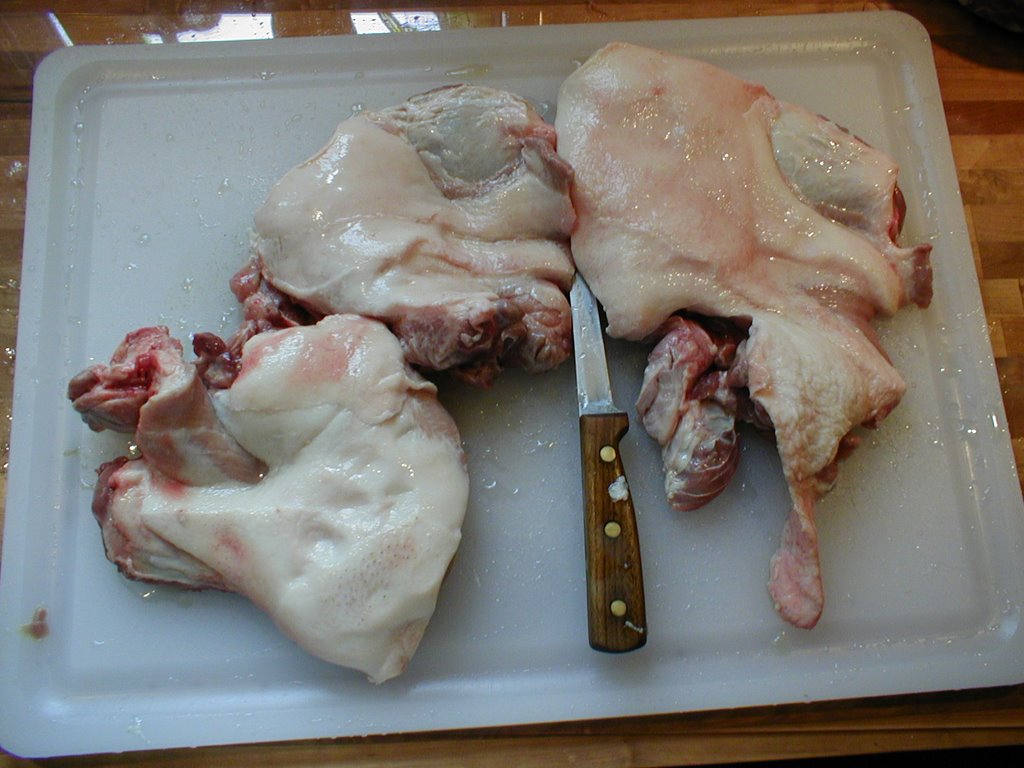
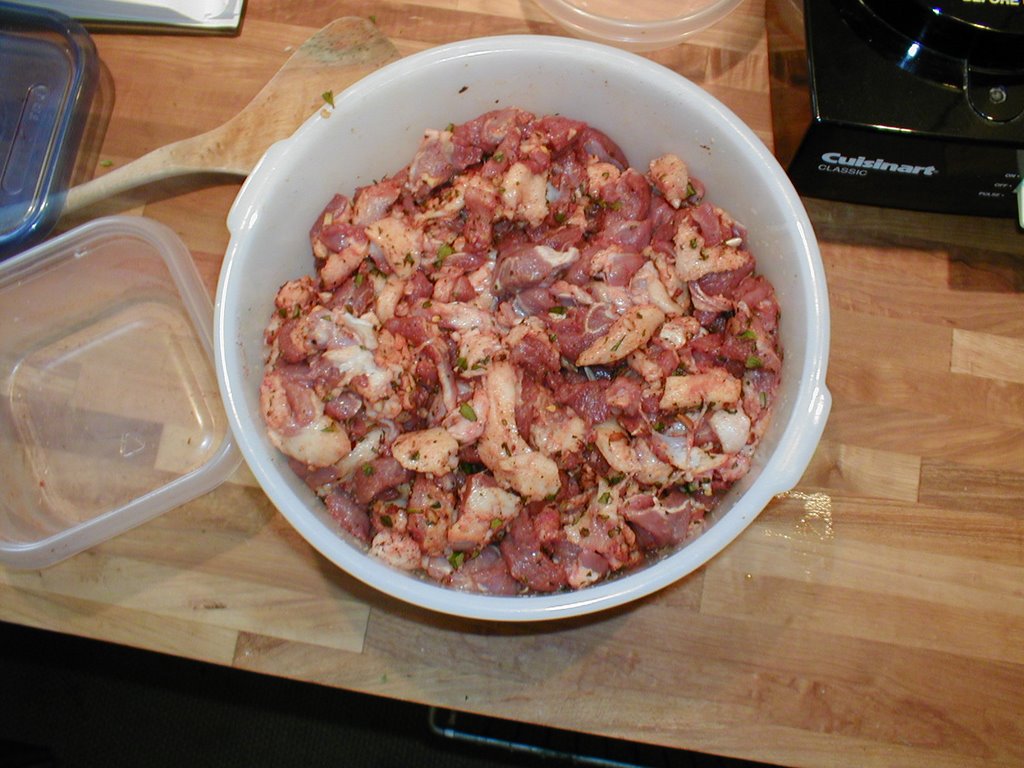 The jowl, or the cheek (sorry no quick links to Nordstrom) has the look of bacon but the fat should have a softer texture. I was offered the jowl with the skin removed which was fine, less work. While researching the jowl I came across a preparation called guanciale; certainly a project for the fall when the curing room (read basement) is at the right temperature.
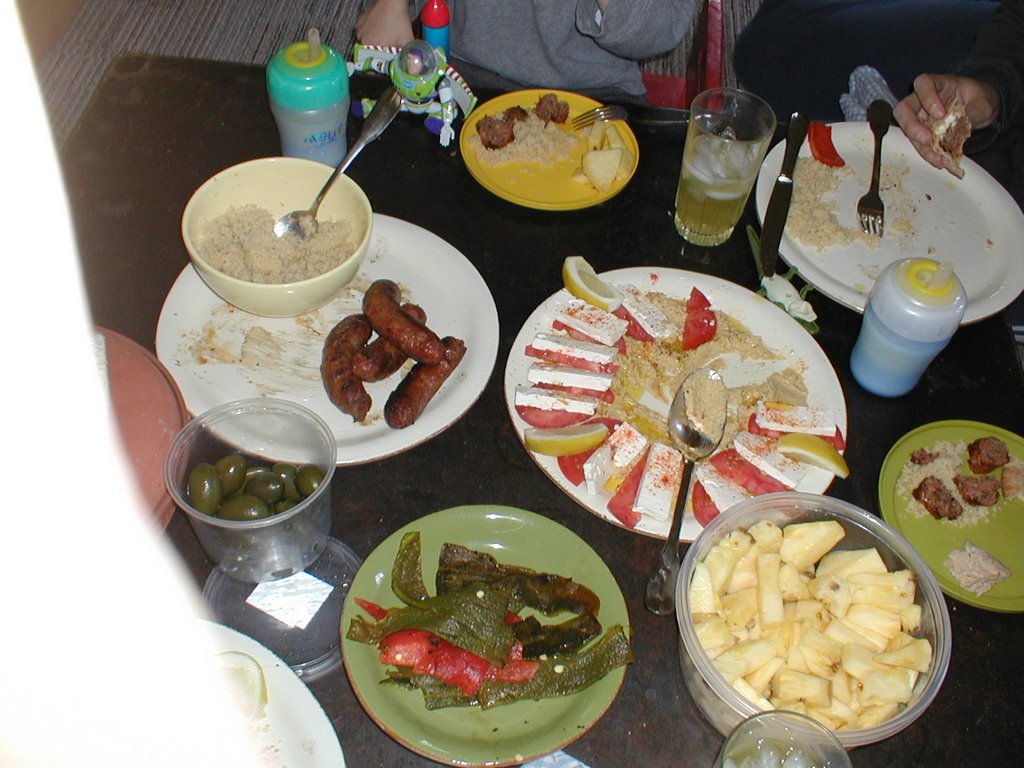

Well the Merguez turned out nice, I didn’t think the flavor was very exotic, but the texture was perfect, the jowl is the way to go. Here we are enjoying our Arabian Nights. S made the Hummus, I can never do it right. Regarding hummus, if you have the where-with-all, you should make it at home starting with dried chickpeas instead of canned. It makes a big difference.
Finally in the big catch-up posting, lets talk ham. Over Memorial day weekend I roasted a fresh ham on the Weber SM.
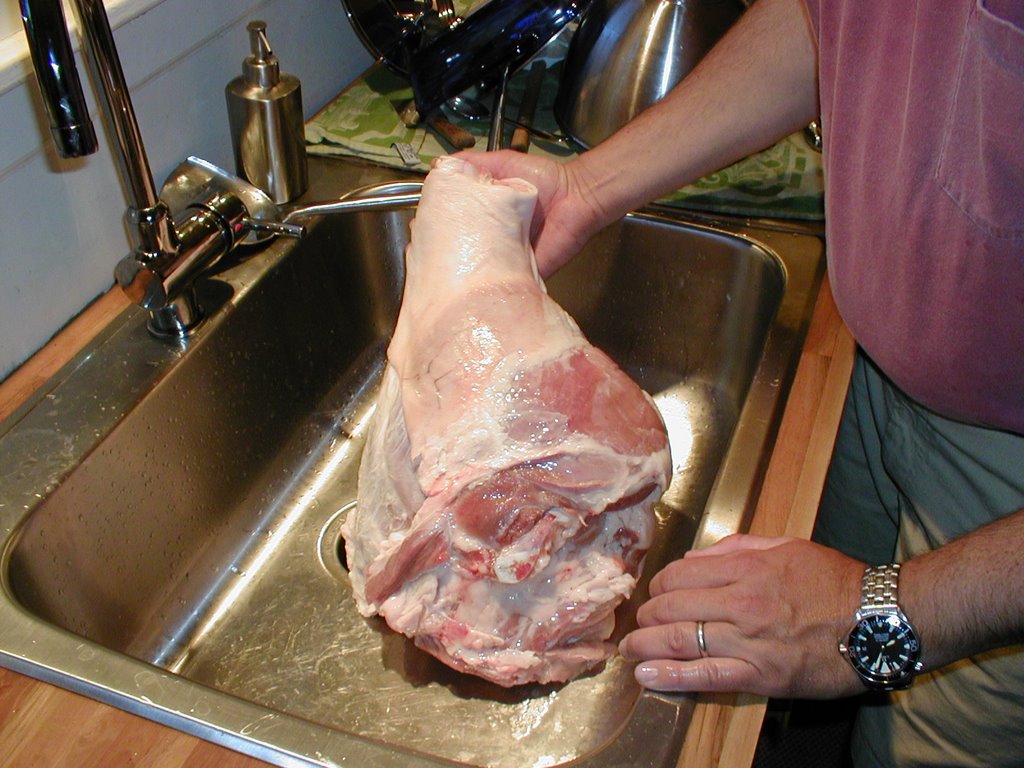 Fresh ham means not the deli meat but the back leg of a pig, uncured. Ever since I first saw them stacked nine or ten high in the meat case, I wanted to cook one. It would be like a mini luau, or any other given pig roasting experience of the tropics or the Mediterranean. I didn’t have a recipe and the internet did not have a lot of ideas.
I liked the idea of the Italian Porchetta, so I spiked it with rosemary and garlic, before that I brined it for about 10 hours, and before that, I guess that is when I bought it, I picked the smallest one in the case and it came to 17 pounds.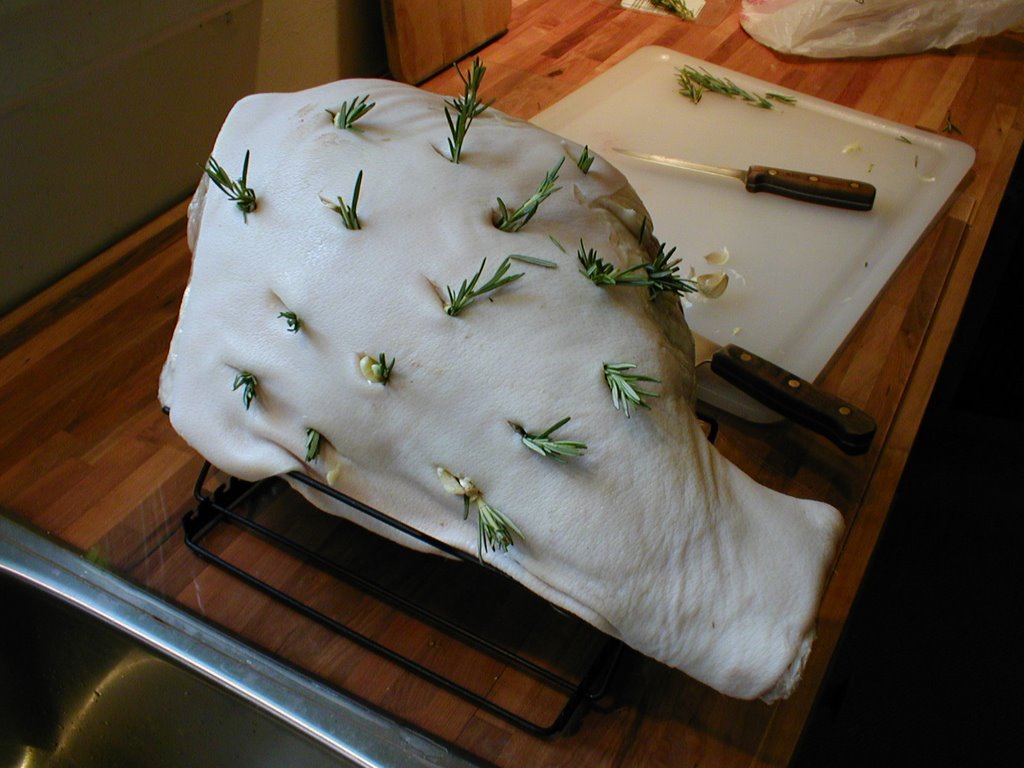
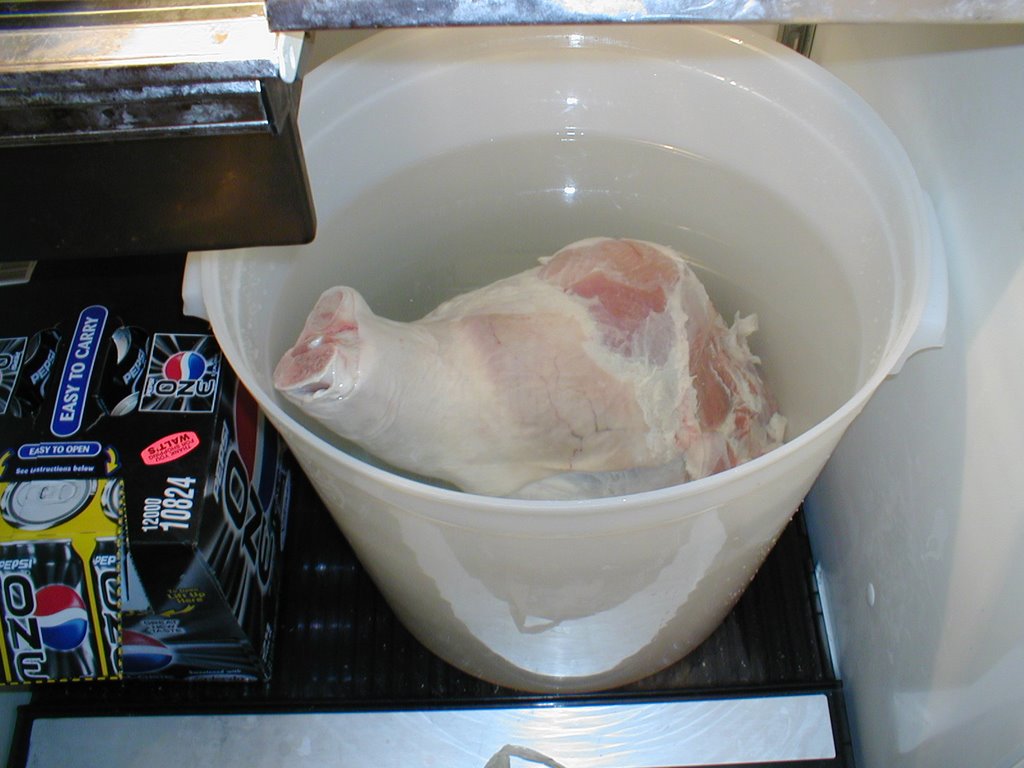
I decided to try a roasting temp of 350, my reasoning being, that I wanted a higher temp to get the skin crackling, and I had success smoking turkeys at that temperature. I cooked the ham for about 6 hours to an internal temp of 155.
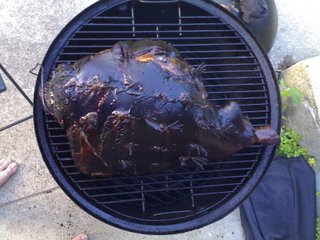
The results were mixed. The high temp caused the on the outside to get dried out while closer to the bone was perfect. I didn’t brine it long enough, should be 18 to 24 hours. I am not deterred, the ham roast is a good summer party item, especially with the garlic an rosemary that reminds me……Italy several summers ago rolling though the countryside in our little Opel, stumbling into tiny towns on market days. The markets consisted or 3 or four trucks; one of those trucks was always a pork van. Gimmie one grassa. Oh baby, on an unsalted roll a slab of meat smeared with a pumice of salt, pepper, rosemary and olive oil. Simple, sun hot afternoon, wash is down with a bubbly water.
Cheers.
Thanks to everyone who sent comments, for those who tried but couldn't get through, try again, I fliped a few switches, I'll get this blogging stuff figured out sooner or later.
18 March, 2006
Saturday Corned Beef

S had an event Friday night, so while everyone else was out drowning the shamrock, me and the boys were home watching Harry Potter. Saturday became our St Patty's day and it started with the boys trying their luck on the iced sugar cookies.
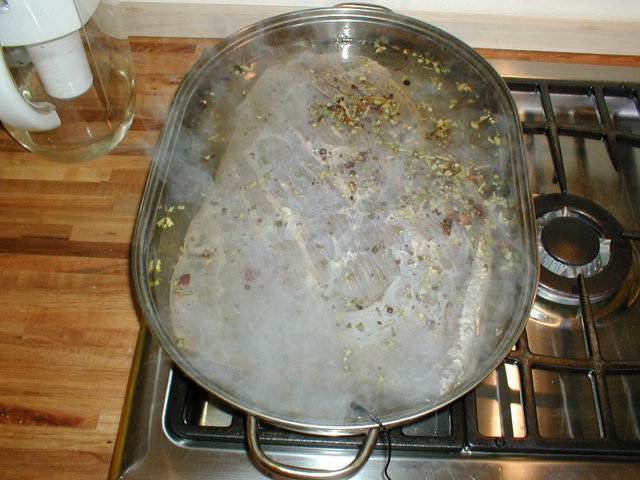
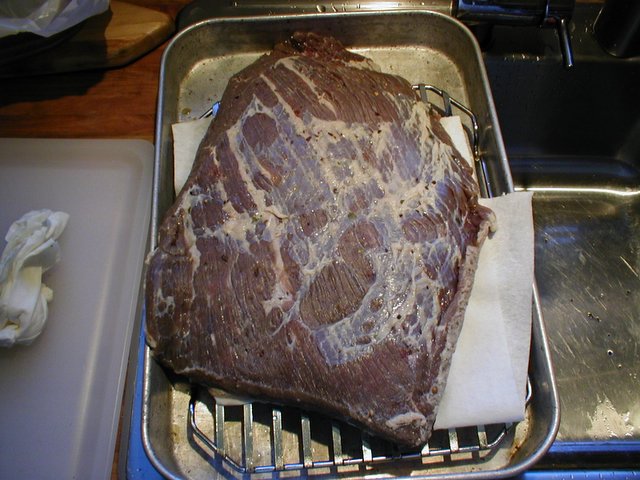 Next came the corned beef. After five days of curing, it was time to put on the boil. I was concerned because I had mished mashed two recipes together, the wet brine and the dry rub. I would not be able to tell until it was done whether or not it was cured too much or not enough. The color on the on the outside of the uncooked brisket looked purple to brown and the book did not provide any guidance on what it should look like. I was additionally worried about the cooking times: Both recipes said to cook "two or three hours or until fork tender." I find that direction rather vague. I will concede that since I "went off book," that my results were (very) far from guaranteed, but when it come to cooking time I always cook to temperature. I find cooking to internal temperature is the best way the have consistently good results. But remember kids, just like when your are navigating a supertanker into the Port of Houston, Use more than one chart. Triangulate between two thermometers and cooking time.
Anyway back to the Corned Beef. I looked around the web for a cooking temp and the closest I got was for a Pastrami on the Weber smoker. It suggested 160F. It took only ninety minutes to get to 160 and that was too quick. Besides it definitely was not fork tender. I slowed the oven down and let it go to about 188, another ninety minutes. The whole time I worried about what I was going to get but I also started to realize I did not know what I wanted to get. All I had hoped was that it would not be too salty and the color would be right.
But the smell. Last year I made boiled a corned beef (corned beef from the store) and cooking it smelled like corned beef. I remember when we ate it we thought mmm this is good corned beef, maybe a little salty, but tastes like every other corned beef. The corned beef today smelled different. The cloves and the allspice dominated the house. It smelled like Christmas. Now I am worried that I will have a piece of meat that tastes more like mulled wine than a Ruben.
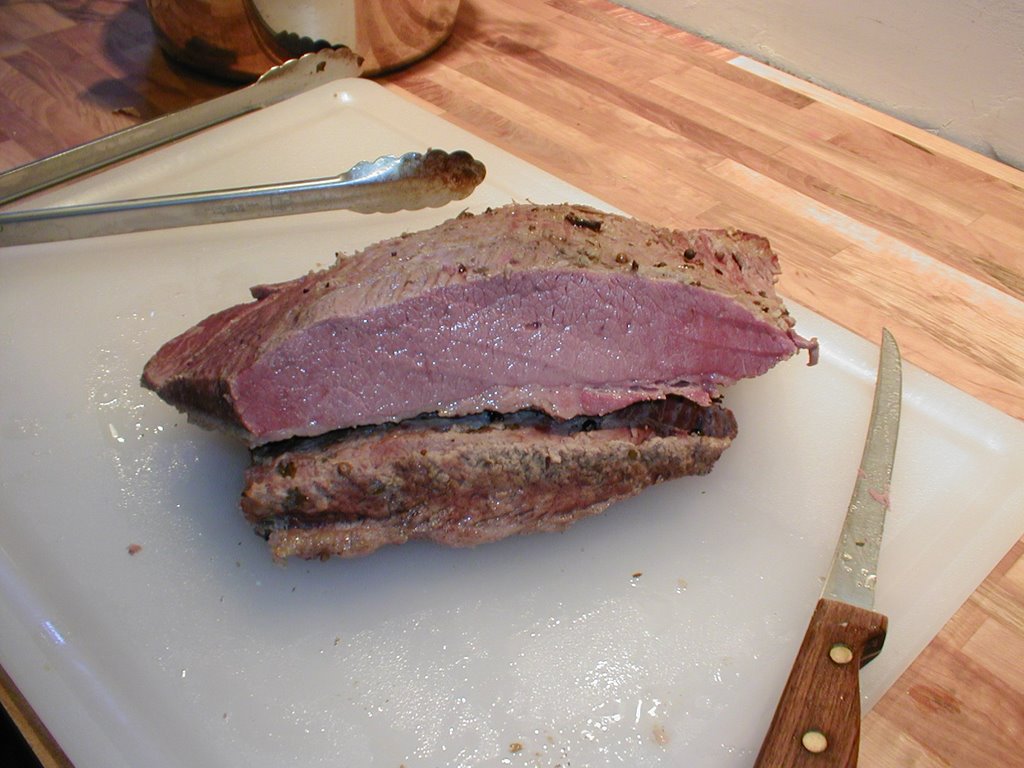
As you can see from the picture below the brisket noticeably shrank. But it got thicker. The color, Boiled Brown.

So the moment of truth, I cut it into it by about a third and sampled. The color unbelievably even and red. And the taste, well it was worth all the worrying. The layers of flavor in the meat led me to understand how the each ingredient played an important role in the cure. I had expected salt to be the lead player in this medley with the chorus rounding out the flavor, but it was an ensemble piece( A Collective, to use the parlance of our times) where no single ingredient stood out. And it definitely tasted like corned beef.
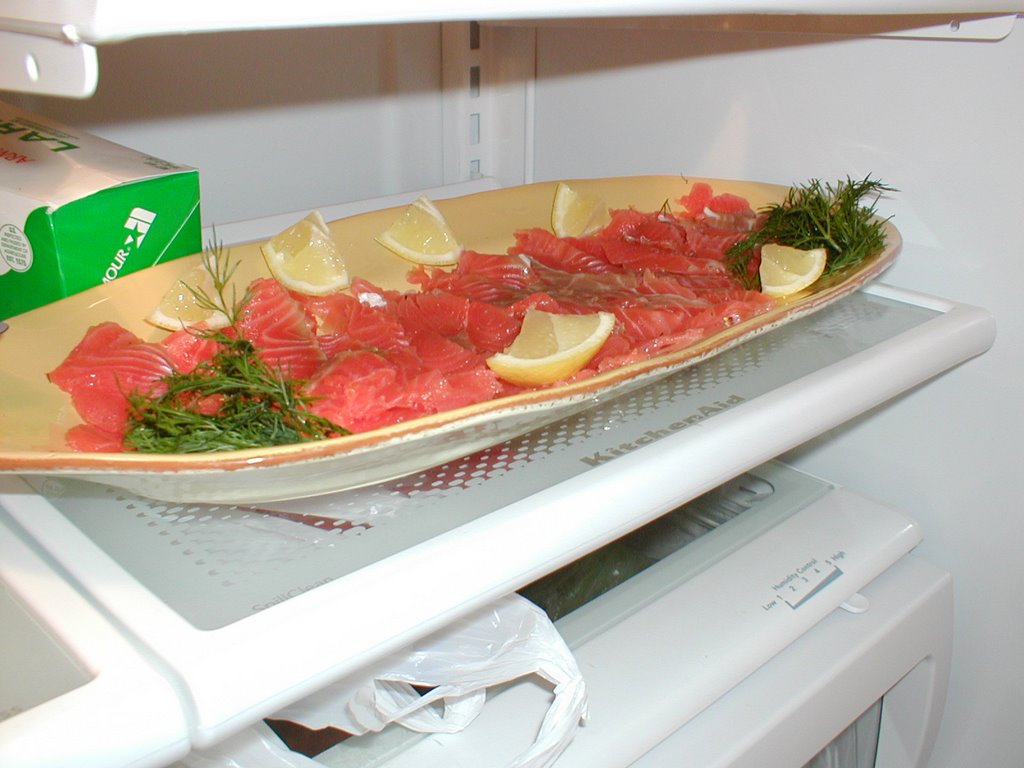
Next time I will probably only cook it to 160. I strained the broth and used it to boil red potatoes, carrots, parsnips and cabbage. And lastly the Gravlaks...the simplest magic that yields such tasty fish.

13 March, 2006
Monday Corned Beef
Time to make the Corned Beef. I started with a brisket weighing just under eight pounds. The recipe from the Charcuterie book called for simmering the salts and spices in four liters of water. I knew I would have to add more because the amounts called out were for a 5 lb cut of meat. Anyway combine everything together in a pot big enough to hold the brine and the beef. A pot big enough...I started imagining the meat floating about(certainly not laying flat) inside a stainless steel pot. I had already come to the conclusion that I was going to use a two gallon Ziploc for the curing(it worked perfectly for the bacon), but I was not going to fit a gallon-plus of brine and 7 pounds-plus of beef in to the suddenly shrinking 2 gallon Ziploc.
I realized that I wanted(and needed) to do a dry rub. This would make the process more similar (familiar) to dry rubs for barbecue and curing bacon. I looked at the corned beef recipe in The Best Recipe, by the editors of Cook's Illustrated magazine, and they use a dry rub process. So I was in luck. The main difference between the wet cure and the dry cure (other than the water) is that a lot less salt is used for the dry cure. The Charcuterie book claims that a wet brine does a better job of infusing the aromatics into the meat. The Best Recipe, reports the opposite. We will see.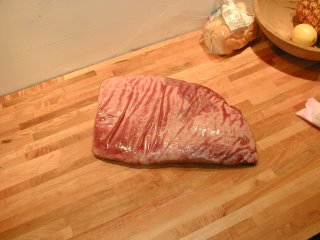
Eventhough it looks small in this picture, It is just under eight pounds.

The Basic Dry Cure (recipe from Charcuterie)on the right consists of Kosher Salt, pink salt (6.25% sodium nitrite, it is colored pink so it isn't mistaken for regular salt), and sugar. In the middle, Pickling Spice mixture from the Spice House.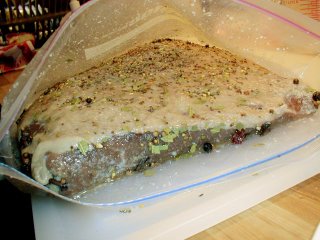
One Brisket rubbed and ready.

With a couple weights, the brisket goes into the fridge until Saturday. I'll flip it everyday.
Cheers.